|
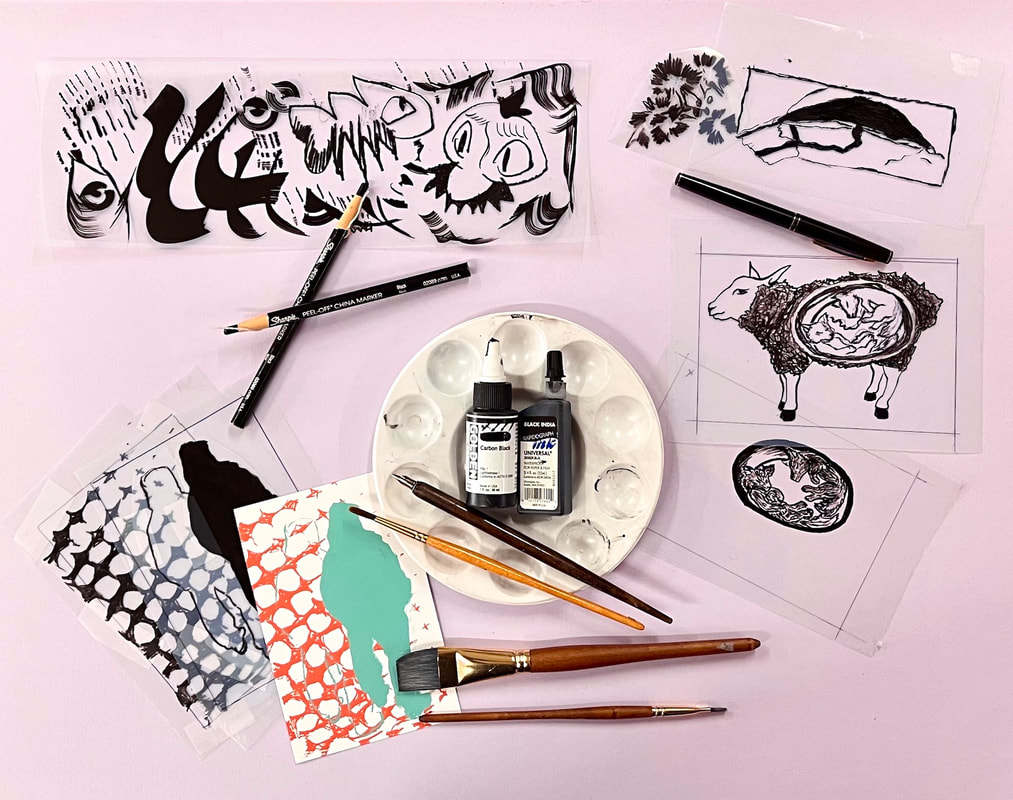
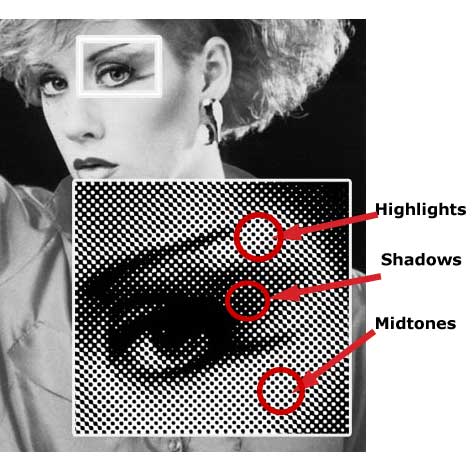
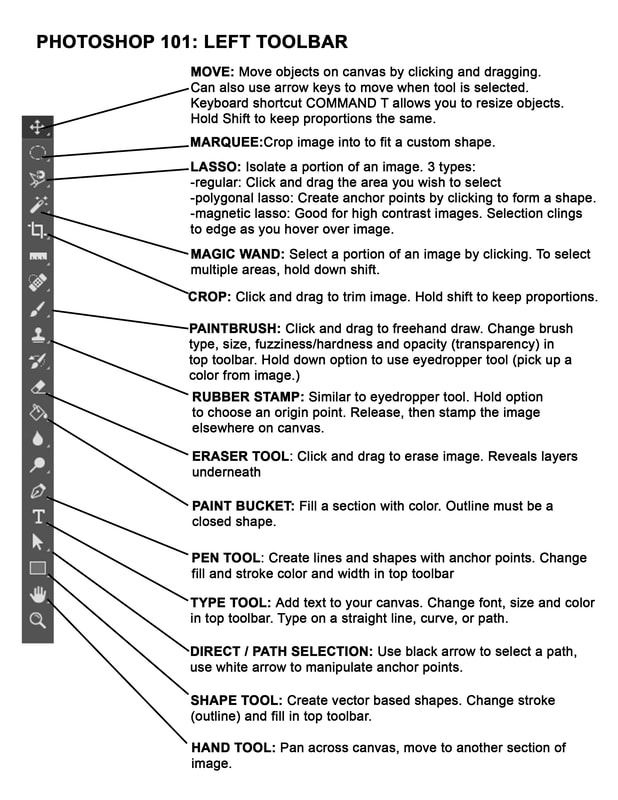
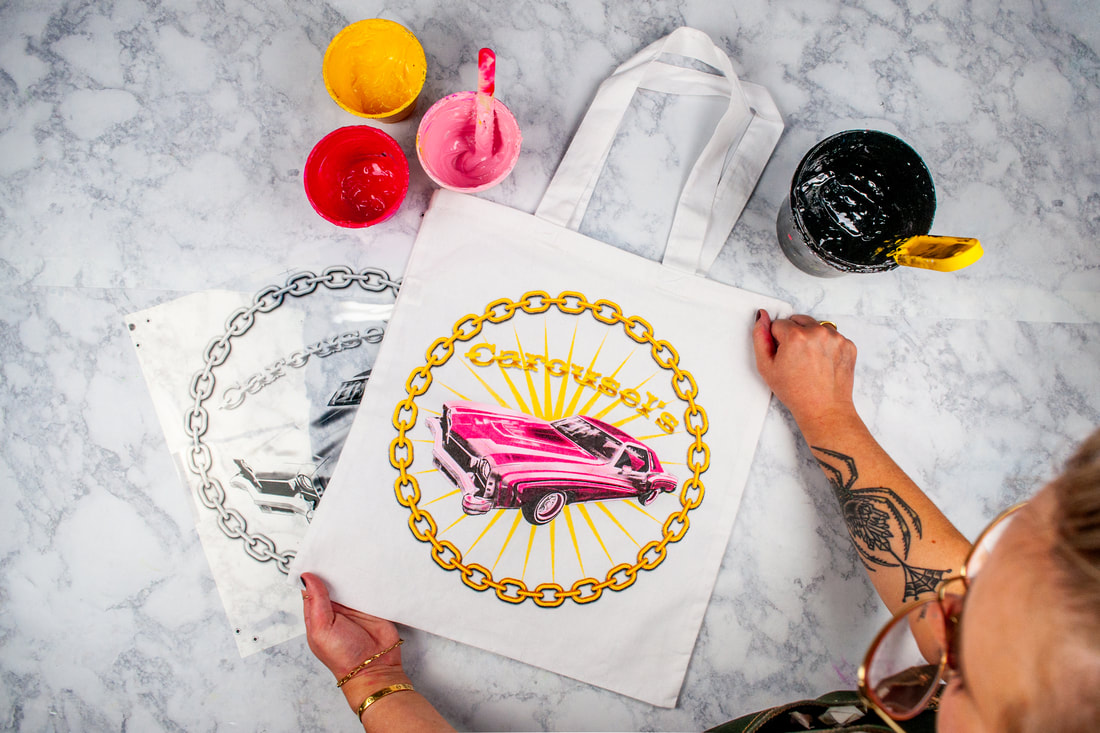
The first step to starting the screen printing process is getting your artwork onto transparent film! Whether you're a graphic designer or just someone who wants to turn their illustrations into printable graphics, there are a lot of options when it comes to choosing between analog and digital film printing. Whichever method you go with, the key is achieving 100% black, super opaque artwork on transparent, waterproof film like acetate or Mylar, so you can assure a solid exposure. Why Should You Care About Ink Opacity on Acetate?When we expose our printed transparency film onto our coated screens, the UV light shines through the transparent areas and “hardens” or “cures” the emulsion underneath. At the same time, the solid black printed areas on our film block the UV light from exposing our screen. This allows the emulsion underneath the printed areas to remain “soft” or “uncured” so we can wash it away later, leaving open areas of our stencil to pass ink through. In other words, if light can get though gray colored ink or semi transparent black ink, then the emulsion underneath our the printed areas of our films will harden too, instead of washing out like they are supposed to. This Post Contains:Analog Methods: Let's Get Into It!Analog methods of creating films for screen printing use traditional art making techniques like painting, drawing and stenciling to make your designs come alive on a transparency. While these processes have been around for centuries, they still offer unique qualities that aren't always achievable through digital methods. For example: hand-made film positives tend to have an organic quality that makes them stand out from those produced digitally; the process itself can often be fun (and messy) and you can really start to connect with the material or tool you have chosen to use. Some of my favorite tools and materials can be found at just about any art supply store. If you want go for a painterly application, be on the look out for 100% opaque black ink that is branded as “waterproof”. This means the ink is formulated to adhere to materials like acetate and Mylar, exactly what we use for our film positives! Our Favorite ToolsMy favorite inks to use with brushes are Rapidograph waterproof black ink and Golden brand High Flow Acrylic because they’re fluid and don’t crack. Beware of using Sumi ink and most India inks because they are NOT opaque enough. Other mark making tools like Fabercastle black ink pens, black paint markers, and china markers are great options to draw directly on film. Each have their own unique mark making capability so experiment and see which one best suits your style! A great technique to try is overlaying a sheet of acetate onto a photograph from a book or magazine and use your favorite mark making tool to trace over the image. Once you have a basic outline, you can add shading with cross hatching, stippling, or a mix of the two. Direct on film image making is a great DIY analog method to achieve immediate, lovely artwork that you can easily manipulate and add onto. Create multiple color layers with ease and get a clear idea of how this process truly works. I 100% recommend trying out this method, even just once, to see how great screen printing masters like Roy Lichtenstein and Andy Warhol made their artwork. Digital Film Outputs: How to Make ‘em & Print ‘emDigital image making and film printing involves using computers and programs like Photoshop, Illustrator, Procreate, or CorelDraw just to name a few. These programs are used to manipulate and create graphics--rather than physical tools such as brushes or pens. You'll want to use a digital program for complex artwork with intricate color nuance and shading and it is essential if you want crisp lines and text! SEPS BY CAROUSEL'S // ARTWORK BY HEATHER PIPER In this section we’ll talk about basic artwork preparation and separation for printing films along with when to use Photoshop vs Illustrator. Plus we’ll highlight some instructional guides we created just for you — all free to download. These guides will set you up for success right from your computer or tablet before you get on press. Understanding the Basics of Prepping Files in Ps and AiRight off the bat, your main goal when digitally printing films -- in the same vein as your analog films -- are making sure printed graphics are 100% black. You could be beginning with an illuration you've drawn by hand, starting fresh on a program, or separating colors out of an already existing image. Either way, the main concept is making sure the line work, text, shapes etc are all black with no gray values, otherwise this will create a halftone dot. What is a Halftone and How Is It Used?A halftone is grayscale tonal representation of your image — typically a photographic one — that’s comprised of 100% black pixel clusters of various sizes. The larger and closer together these clusters are, the darker the value it creates. The smaller and/or father apart the clusters, the lighter the values. If you want solid line work or shape, halftone is not going to be something you’re after, but if you want to create levels of opacity within a specific color or want to blend two colors together, halftone is a perfect tool for that. Using the halftone method will allow you to recreate photographic images for screen printing, be sure to check out the guides below to learn more on this! When to use Photoshop vs. IllustratorFor screen printing purposes I use Photoshop and Illustrator on an equal bases. Photoshop is a way to easily format, adjust, and manipulate images especially if they are photographic in nature or if you’re separating colors out of an existing graphic. I use Illustrator if I need to vectorize a low quality image or if I’m working with text and I want super clean lines. But as for deciding with one is a better purchase or which one is more useful, the answer just depends on your design sensibilities. For many graphic elements like text, shape and line — the building blocks of any illustration — Illustrator or other vector based softwares like Affinity (Designer and Photo) allow you to create completely smooth, crisp line work and shape. If an image is vectorized properly, you can scale the artwork up or down without losing image quality. With a raster based image, seen in the image below, you can observe the difference in image quality. If Photoshop and Illustrator are out of your budget, Affinity has many of the same features for only $50 each (no subscription) Designer and Photo work on desktop for windows and mac and they update them often. Other alternatives include GIMP and Inkscape, both are more akin to Photoshop, but if you are creating your own designs I can't recommend Procreate enough. Procreate is an amazing tool that we use here at Carousel’s to create most, if not all of our in-house designs. It’s an affordable, one time purchase under $15.00 that’s used on a device that can be purchased for a fraction of the price of a computer, and can rival the capabilities of Adobe software. My honest option here if you're comfortable using one program over the other, start out with what you know best. If you are just looking to familiarize yourself with the programs in general, I recommend starting with Photoshop or CorelDraw, the interfaces and work flow are much more straightforward than Illustrator. Photoshop is great for putting together text and image and manipulating them both. It allows you to easily isolate color if you're separating out an image and as long as you work in a high resolution, your prints will still look great, trust me. Things to Think About When Setting Up Files for Screen Printing
The guides and video bellow will jumpstart your digital artwork prep journey! Look out for a future post that gets into how to achieve more complicated separations :) Photoshop Guides for Setting Up Your Files for Screen PrintingEasy Spot Color Separations by Arwin Cimatu*
*This video is used with Arwin's permission. Main Take AwaysThe key to printing film is to make sure they correctly sized and black enough, so the files in Photoshop and Illustrator must be formatted so they come out just they you want! Image quality is super important and a phrase I think of fondly of when outputting films is this: “Garbage in is garbage out”. In other words, if you input a super low quality graphic with intense pixilation like in the raster ‘&’ graphic above, you’re going to output and screen print all the ugly pixilation that comes with it. How to Print Your Film Positives for Screen PrintingIn short you can try either of these options:
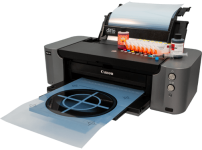
Just like anything else, there's pros and cons to each of these options. Keep in mind, taking the plunge and investing in your own ink jet printer set up can be expensive but if you’re printing often (at least 3x/week) it’s totally worth it. If using your printer at least three times a week is unlikely or you need to print large graphics (over 13"x19"), it may be best to purchase professionally printed acetates from a screen printing shop that offers these services. How to Set Up A Home Printer to Print Opaque Film PositivesBefore you fully commit to purchasing a new printer just for screen printing, try printing them out using your home printer! You can print from a regular ink jet printer at home BUT make sure you have the proper film and printer settings configured. The first thing you need is the right film, look for a waterproof film like this one; it has two sides: a smooth shiny side and a moisture absorbing side. If you wet your finger, the moisture absorbing side that should feel tacky when you touch it. When placing a sheet in your printer, make sure the matte/tacky moisture absorbing side is facing out towards you and be sure to insert only one at at a time to avoid jamming. In terms of ink handling, make sure you are using the correct settings, otherwise this result in your films not being opaque enough. For best results, print two copies and line them up perfectly, one on top of the other and taping them together to increase the opacity. If you are printing fine halftone, it's very hard to accurately place tiny dots on top of each other. In that case, you may have to consider getting those files professionally printed. Try these print settings out if you're on a Mac: COLOR HANDLING: Printer Manages Colors NOT Photoshop Color Management Navigate to the Printer Setup section and click Print Settings A dialog box should open < Quality and Media section > MEDIA TYPE: Matte Photo Paper PRINT QUALITY: High < Color Options section > Under Cyan, Magenta, and Yellow > move all of the sliders to HIGH INTENSITY: Move slider > Dark Turning a Printer Into A Screen Printing PrinterSay you did want to make the leap to owning your own printer, choosing the right one can be tough and troubleshooting can be even harder when you’re new to owning a printer. In this section we’ll share a few tips to make it easier for you to decide if owning a printer is right for you, which set up route to go with based on your level of production, and if using RIP software is worth it! The real sure fire way to make sure your film are truly opaque enough is to convert your printer (if you can) to use an All Black Ink System (ABIS). This means that you replace all the ink cartridges in your printer with refillable ones. Instead of using a variety of CMYK colored inks, you will refill each of the cartridges with special UV blocking black ink formulated specifically for screen printing. A list of printers that can be converted can be found here, they can be bought new, found Facebook Market Place, or Ebay. When choosing a printer, be sure to keep in mind the max size film the printer is able to accommodate. You may think that 8.5"x11" is plenty of space for most artwork but you'll quickly find that this size extremely limiting. My recommendation is to go with a medium format printer that uses sheet of acetates, not a roll. This size printer can accommodate a 13"x19" acetate sheet, a suitable size for most artwork. If you find that you need to go bigger, you can print your artwork in sections and carefully tape sheets together to form a larger print. One of my favorite aspects of a sheet feed printer is that you can use the unused scraps of acetate cut off from your previous prints to be used again for smaller prints. For example if my artwork is 11"x8", I can orient the artwork so it sits closer to the top or bottom of my 13x19” sheet. Once I cut off my completed print from the sheet, and I’ll have an 13x11” piece of acetate left over. I can now use this scrap for later print. Just be sure to change the paper size each time you print on a scrap size, in the printer dialog box go to Manage Paper Settings > Manage Custom Sizes and enter in the scrap size. What You Need to Get Started
At some point you may want to look into a RIP Software but at the end of the day, it’s not always necessary unless you are running high volume. These softwares can be upwards of $750.00 for a full license or a subscription based license can run you around $199.00/year. Look into PrintFab or FilmMaker if you are interested in exploring a RIP Software. AccuRIP is also an option, it's simple to use but the options for dialing in your seps are much more limited. Do tons of research before hand to make sure a converted printer is right for you. Keep in mind, once you convert a printer into a screen printing printer, it can not be used for color prints or turned back into a color printer. In addition, in order for the printer to continue to function properly, it needs to be used at least 3-4x per week. How to Get Your Film Printed with A Screen Printing Shop
In Conclusion
Now get started on your those designs!
0 Comments
Leave a Reply. |
AuthorHi, I'm India. I'm a full-time print shop owner and part-time screen printing guru. I love helping people get started in screen printing, and I love sharing what I know so that everyone can be empowered to create their own designs on their own terms. ArchivesCategories
All
|





 RSS Feed